Capture user feedback
In this tutorial, we’ll show how you can gather valuable insights from your users to evaluate and improve your AI product.
We’ll deploy a simple chat app that allows users to interact with an AI model. Later, we’ll modify the source code to capture user feedback and show how these insights are used to improve the AI product.
Prerequisites
Account setup
Create a Humanloop Account
If you haven’t already, create an account or log in to Humanloop
Add an OpenAI API Key
If you’re the first person in your organization, you’ll need to add an API key to a model provider.
- Go to OpenAI and grab an API key.
- In Humanloop Organization Settings set up OpenAI as a model provider.
Using the Prompt Editor will use your OpenAI credits in the same way that the OpenAI playground does. Keep your API keys for Humanloop and the model providers private.
Capture user feedback
You can grab the source code used in this tutorial here: hl-chatgpt-clone-typescript
Use the chat app
Open the chat app in your browser and start chatting with the AI model.
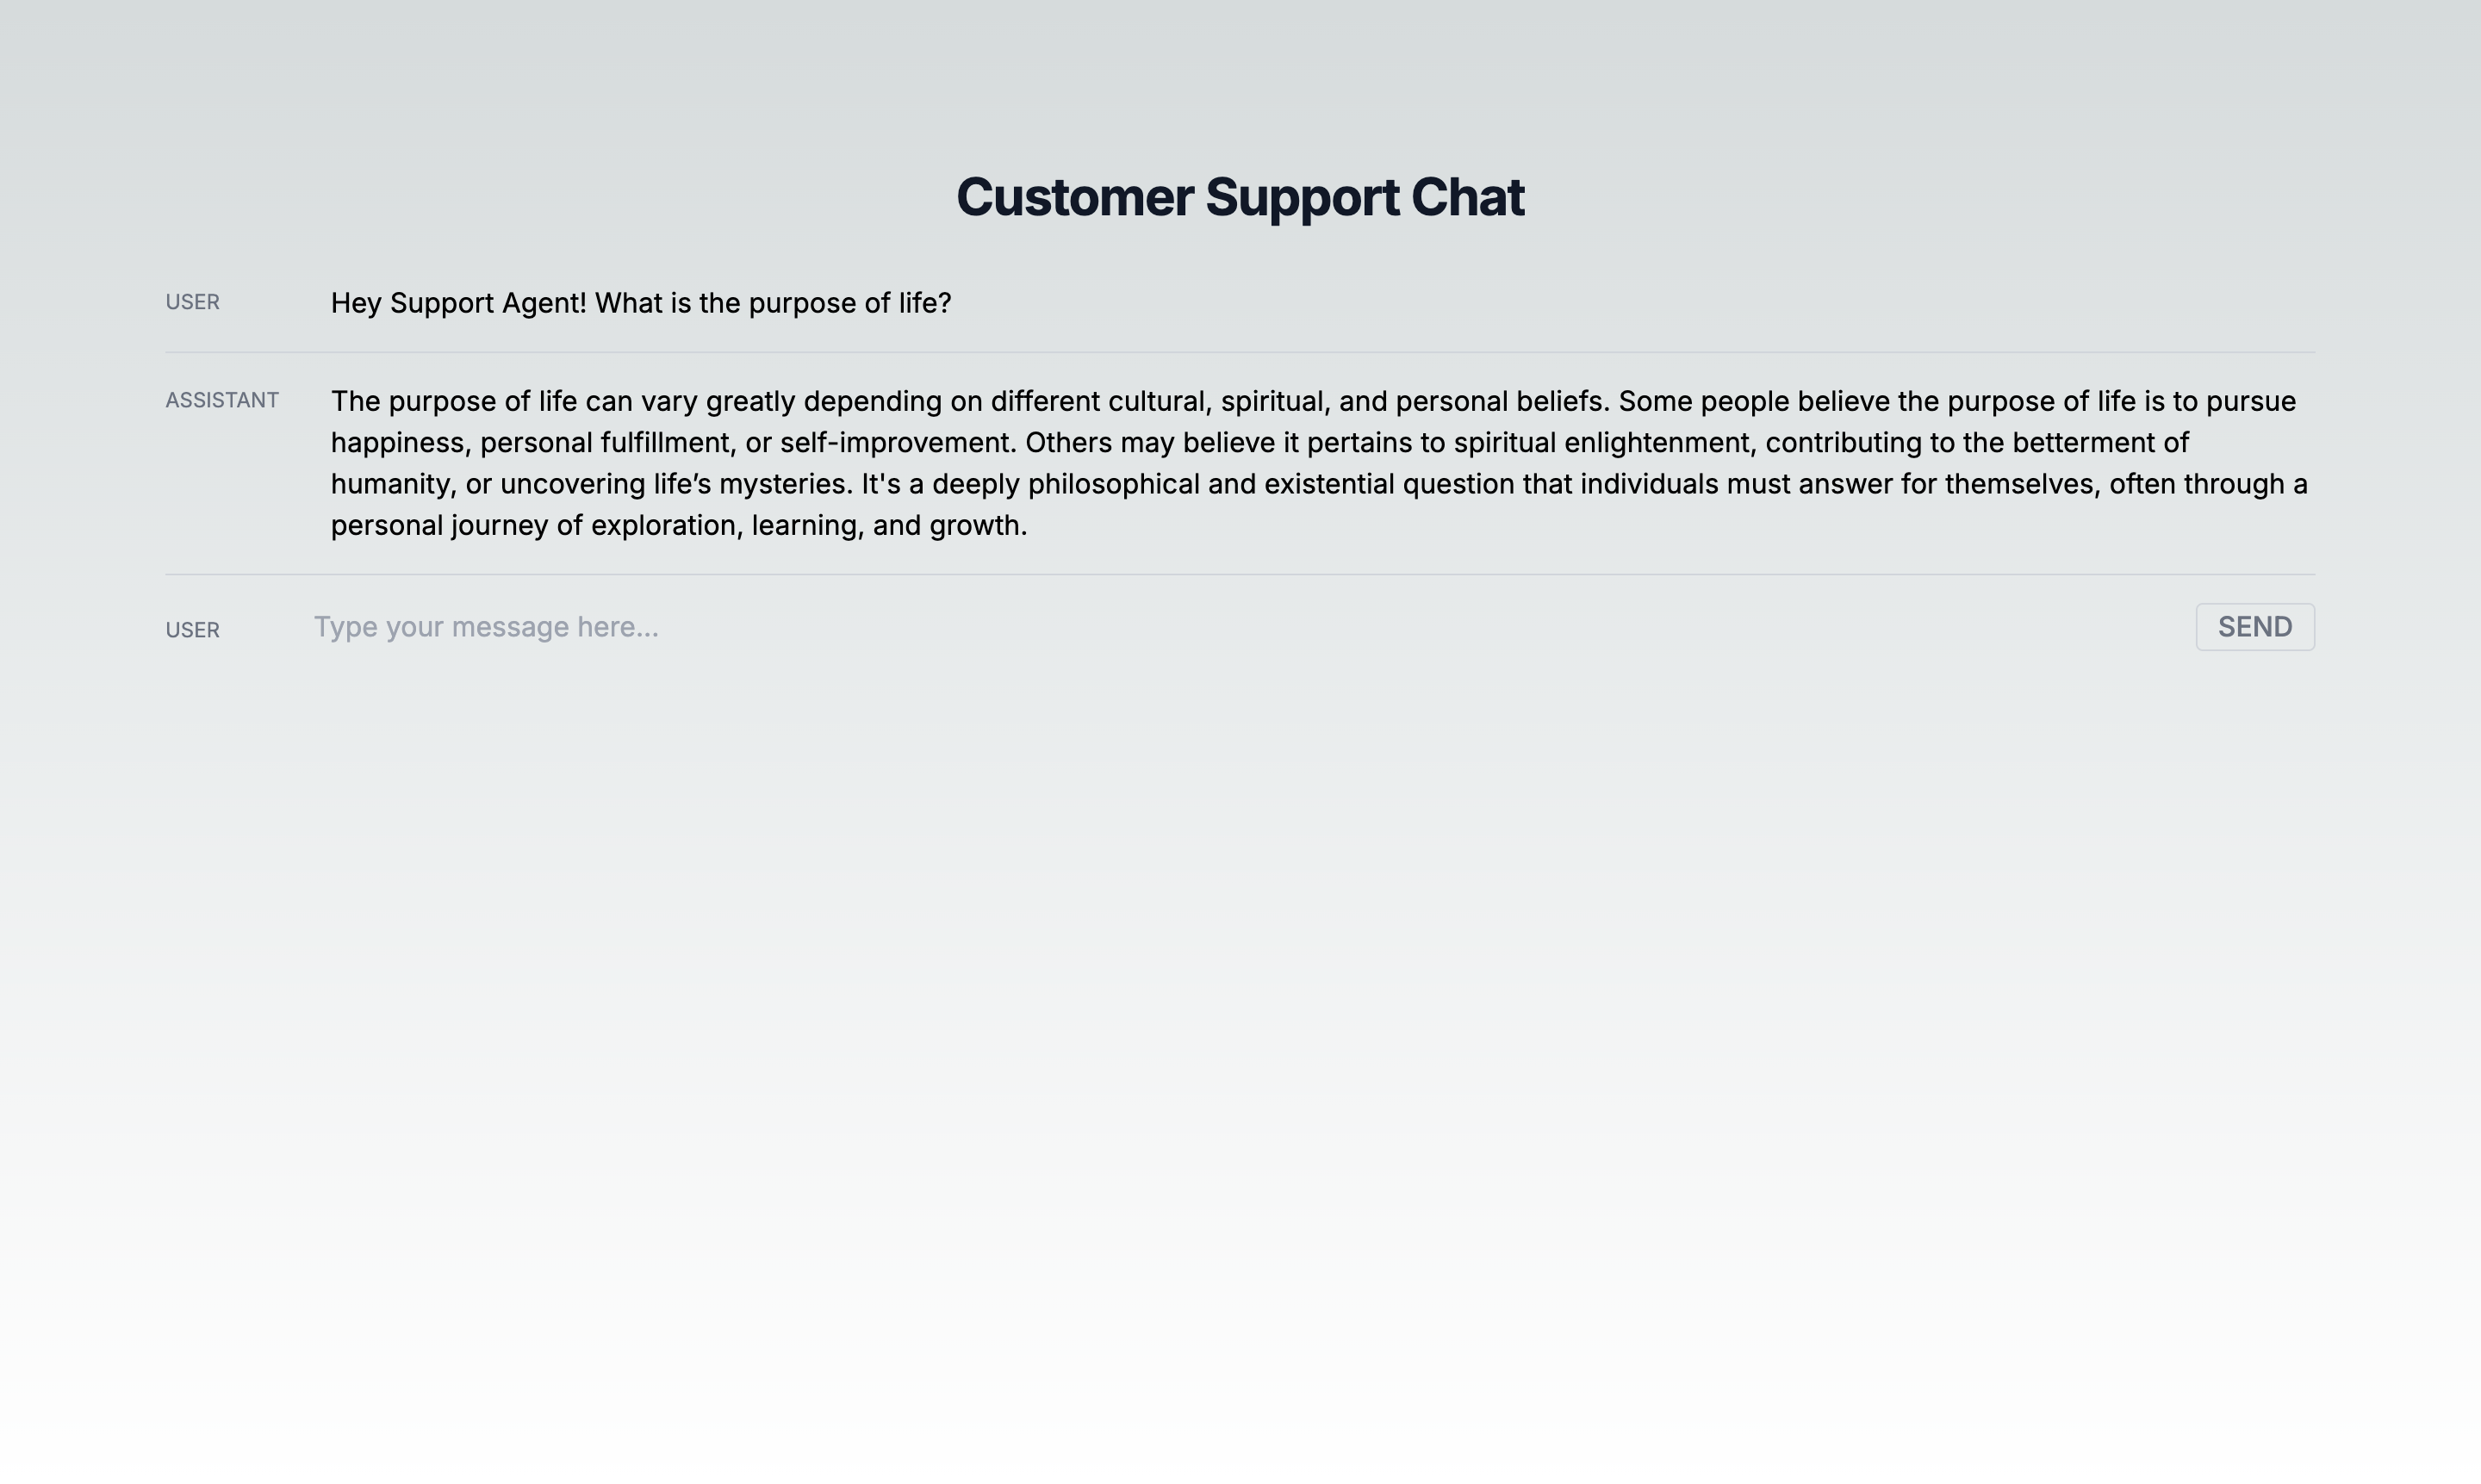
Every time the user presses the Send button, Humanloop receives the request and calls the AI model. The response from the model is then stored as a Log.
Let’s check the api/chat/route.ts file to see how it works.
- The
pathparameter is the path to the Prompt in the Humanloop workspace. If the Prompt doesn’t exist, it will be created. - The
promptparameter is the configuration of the Prompt. In this case we manage our Prompt in code; if the configuration of the Prompt changes, a new version of the Prompt will automatically be created on Humanloop. Prompts can alternatively be managed directly on Humanloop. - The
messagesparameter is the list of all messages exchanged between the Model and the User.
To learn more about calling Prompts with the Humanloop SDK, see the Prompt Call API reference.
Review the logs in Humanloop
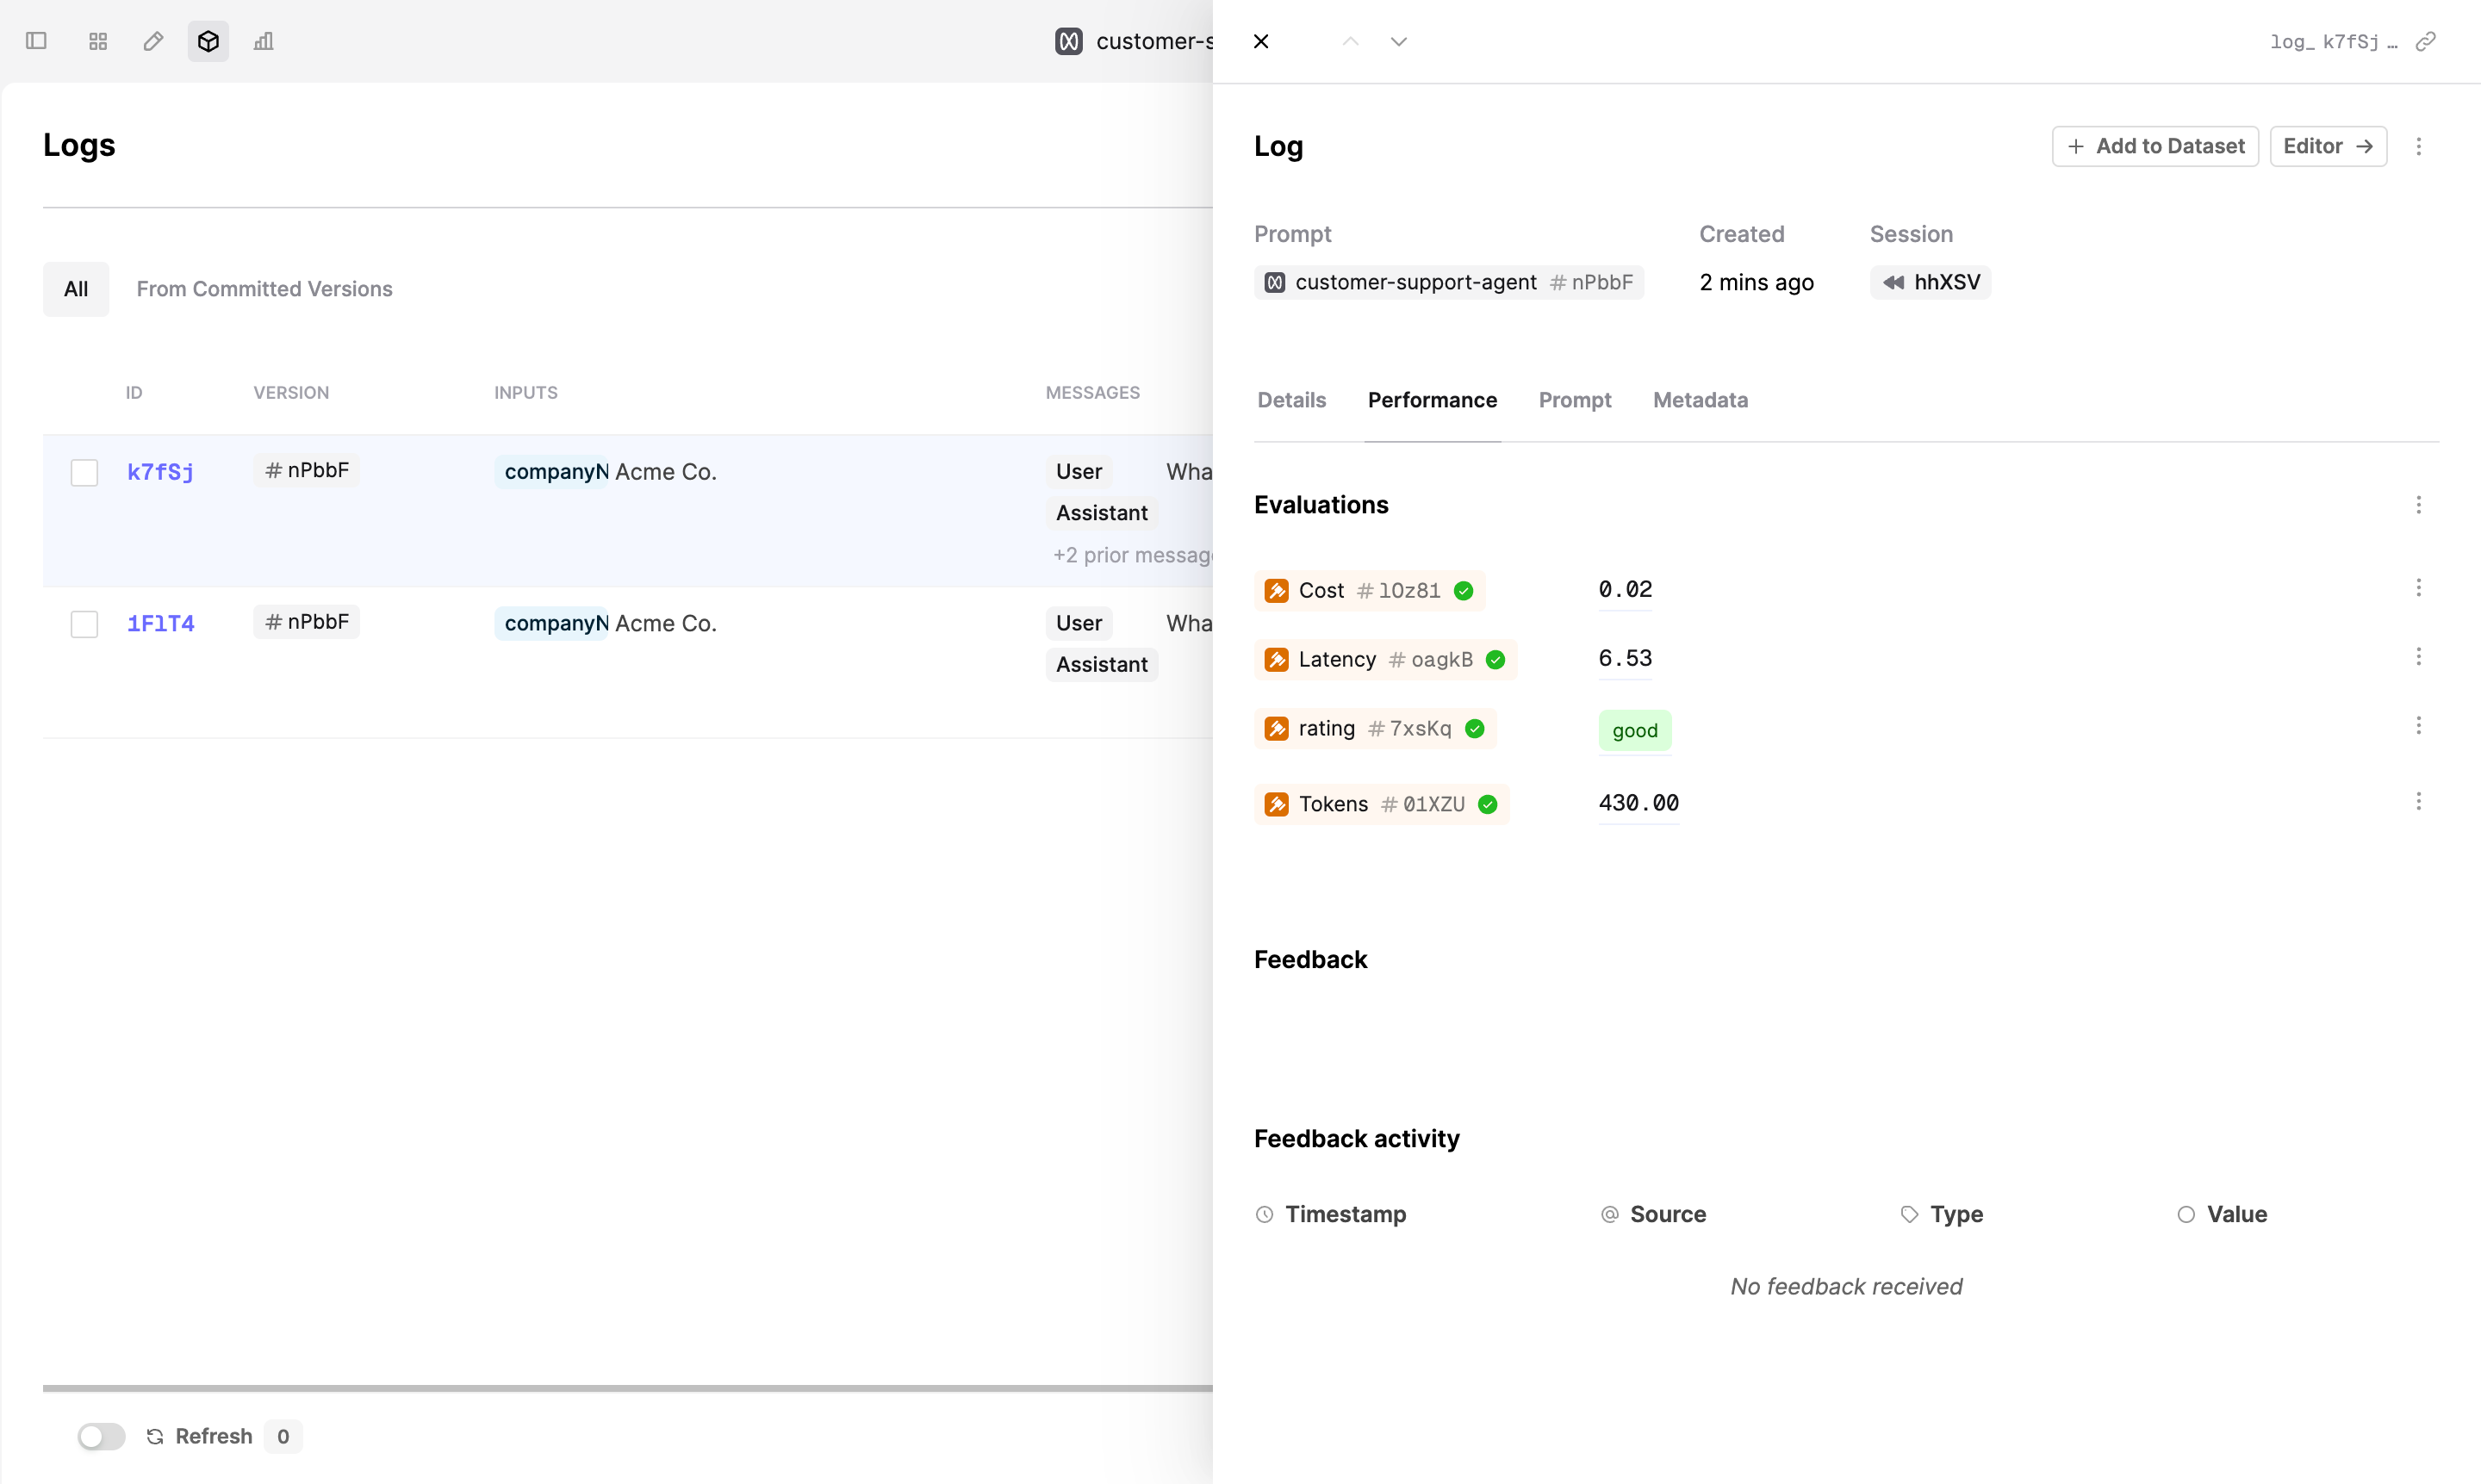
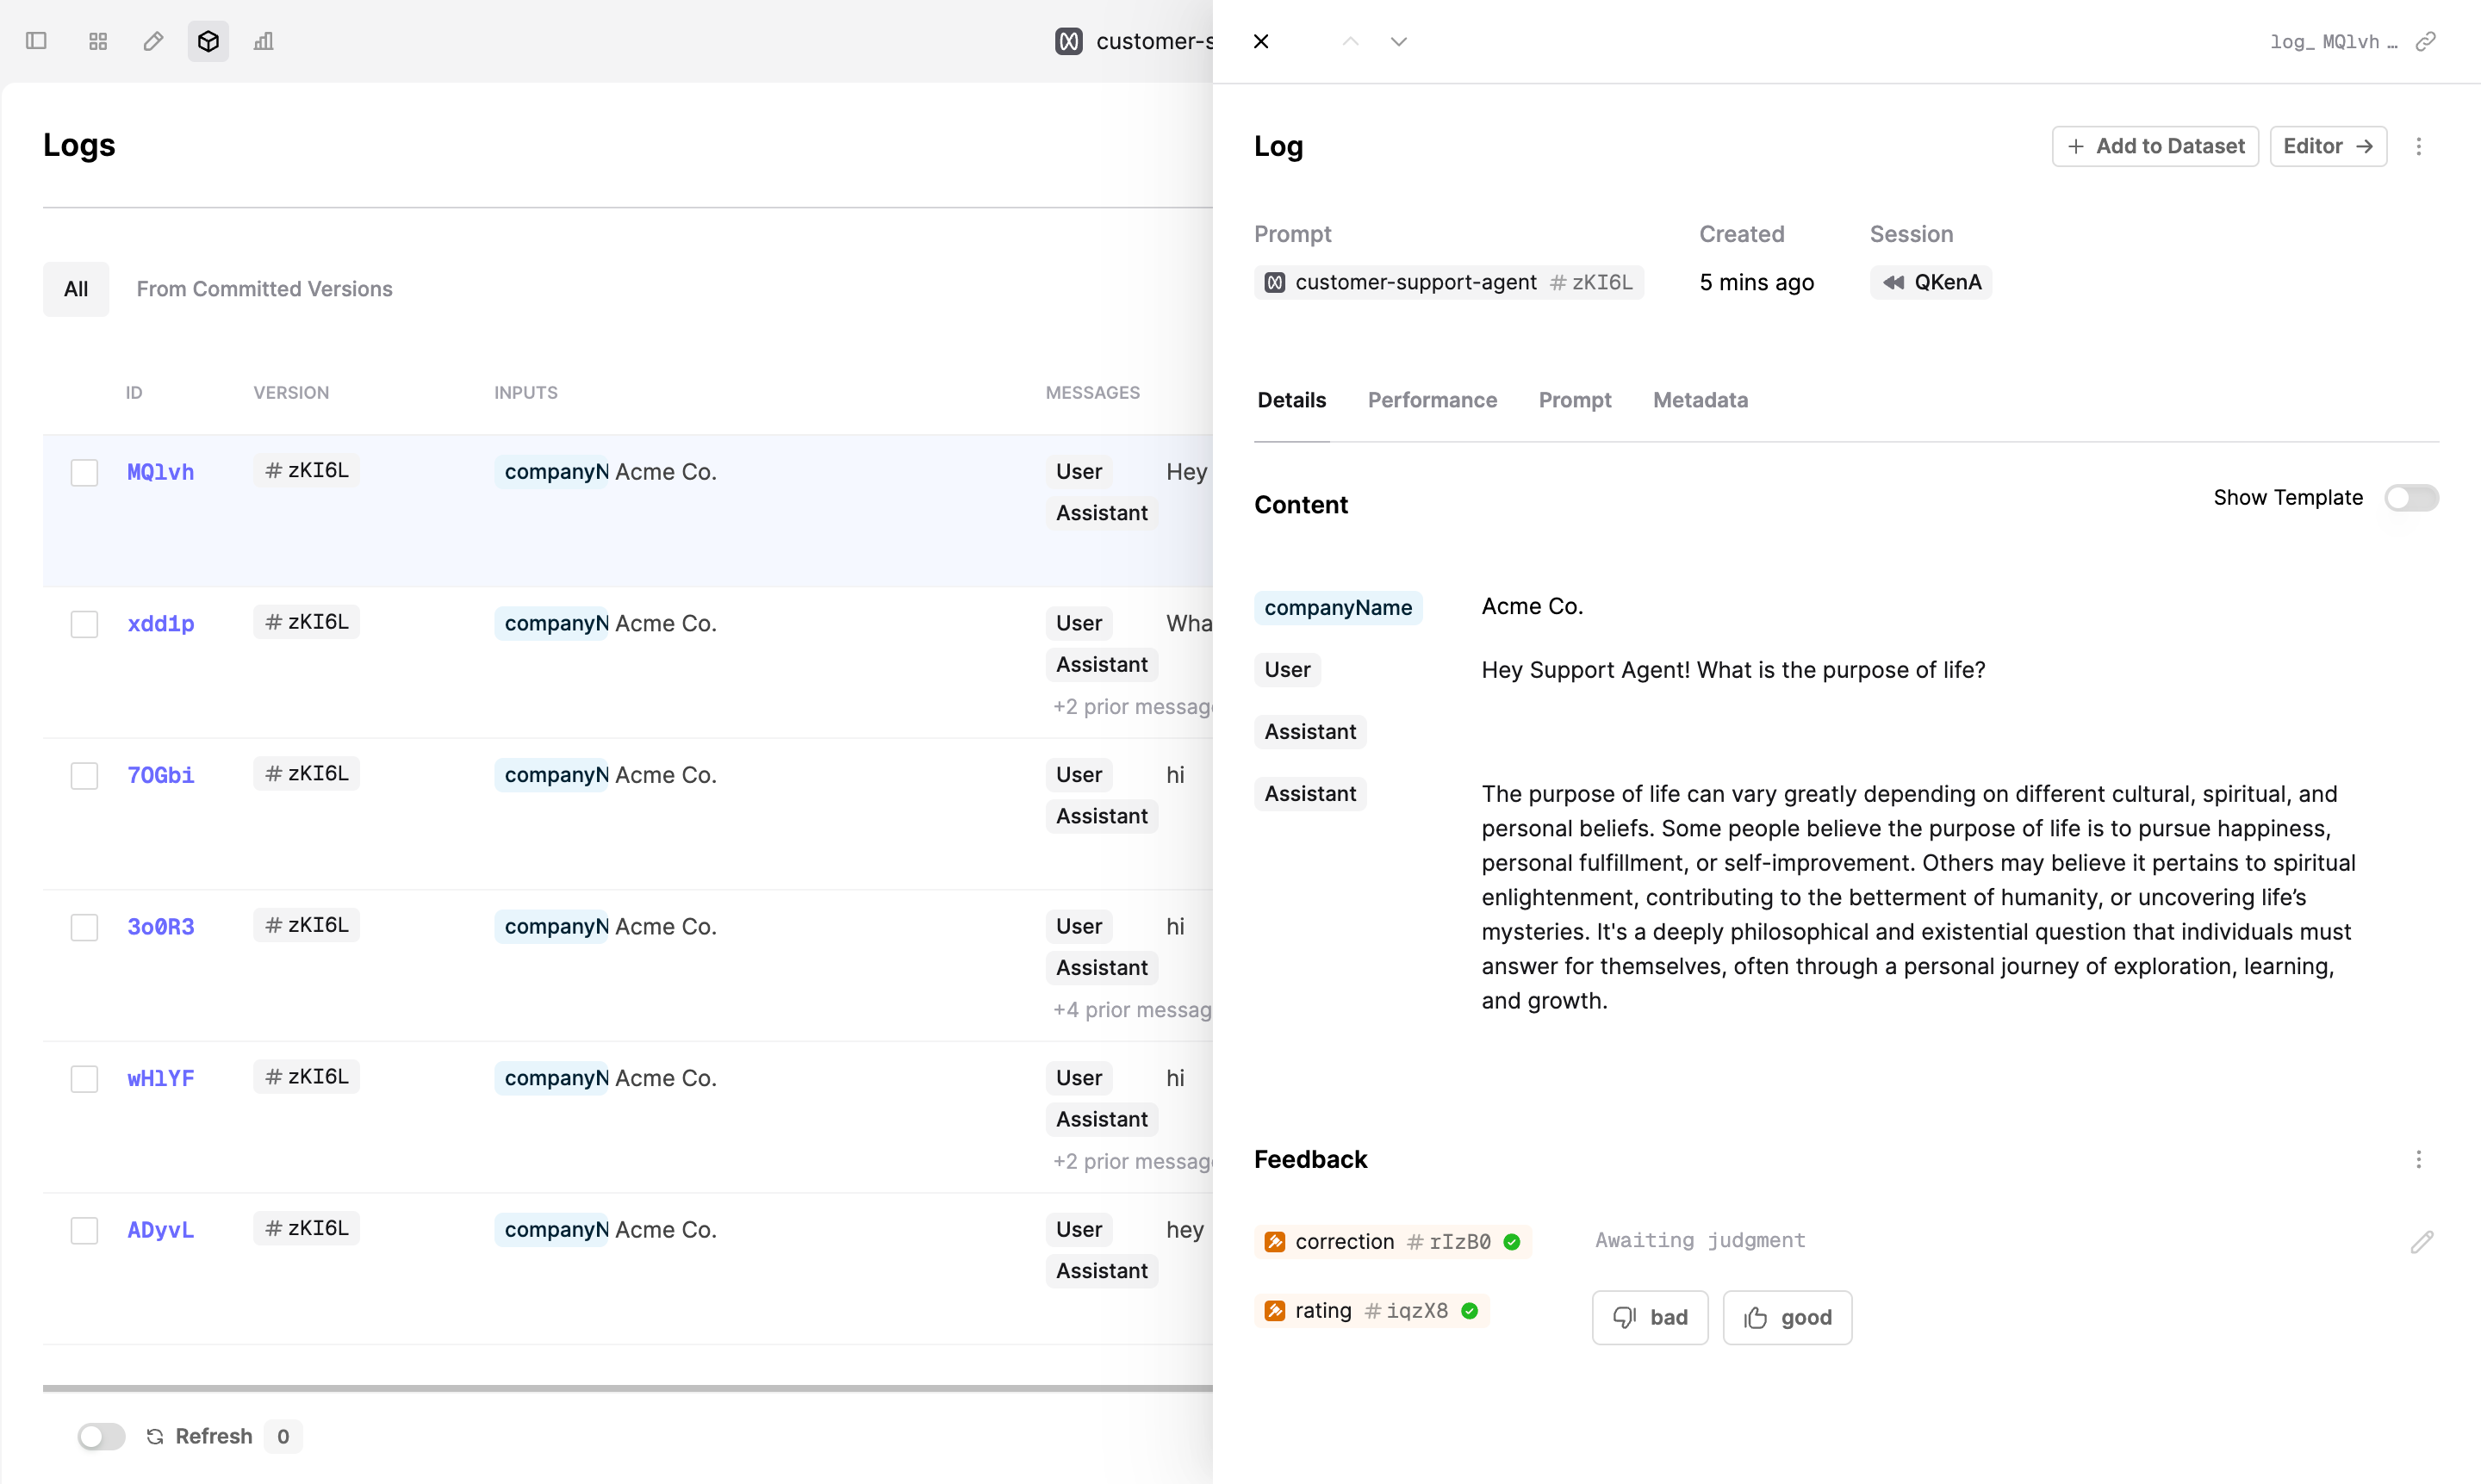
After chatting with the AI model, go to the Humanloop app and review the logs.
Click on the chatgpt-clone-tutorial/customer-support-agent Prompt, then click on the Logs tab at the top of the page.
You see that all the interactions with the AI model are logged here.
The code will generate a new Prompt chatgpt-clone-tutorial/customer-support-agent in the Humanloop app.
To change the path, modify the variable PROMPT_HUMANLOOP_PATH in the api/chat/route.ts file.
Modify the code to capture user feedback
Now, let’s modify the code to start getting user feedback!
Go back to the code editor and uncomment lines 174-193 in the page.tsx file.
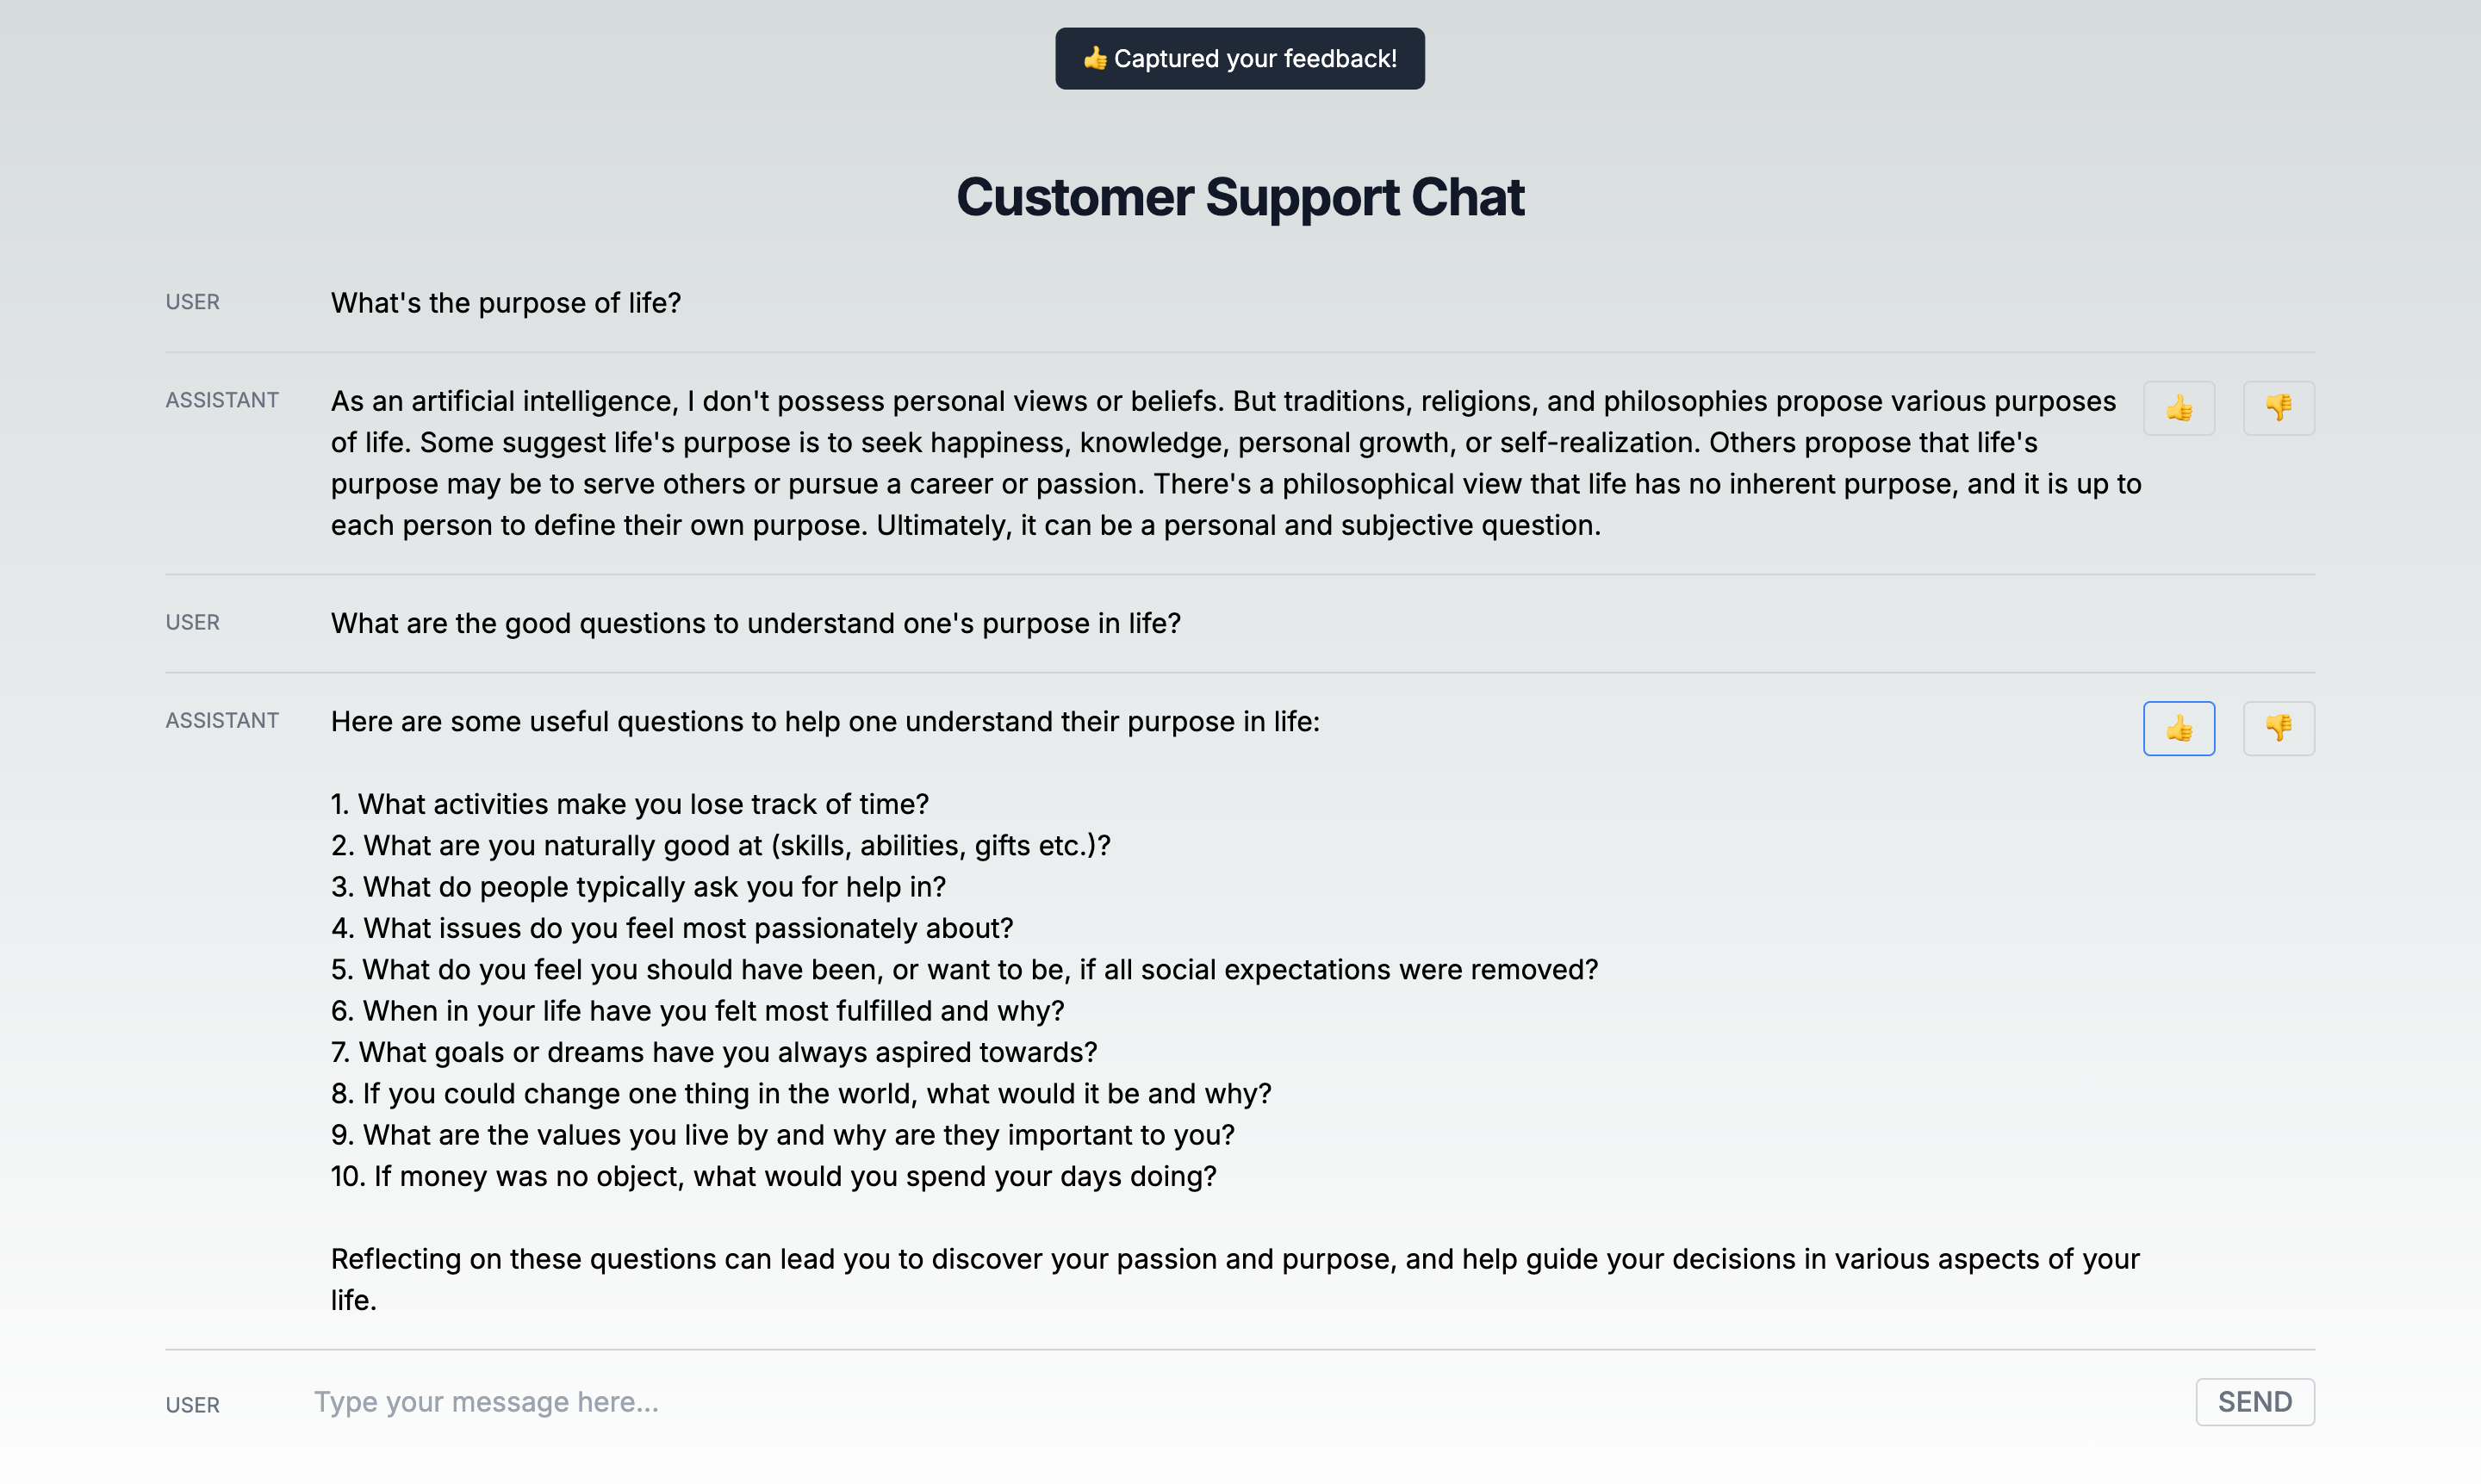
This snippet will add 👍 and 👎 buttons, that users can press to give feedback on the model’s responses.
To understand how the feedback is captured and sent to Humanloop, let’s check the api/feedback/route.ts file.
We use Humanloop TypeScript SDK to make calls to Humanloop. To attach user feedback, we only need three parameters:
parentIdis the Id of the Log to which we want to attach feedback. Thepage.txsfile stores all log Ids for model responses.pathis the path to the Evaluator. In this example, we’re using an example ‘rating’ Evaluator.judgmentis the user feedback.
Capture user feedback
Refresh the page in your browser and give 👍 or 👎 to the model’s responses.
Which kinds of feedback should I set up for my AI product?
In the tutorial, we used the ‘rating’ Evaluator to capture user feedback. However, different use cases and user interfaces may require various types of feedback that need to be mapped to the appropriate end-user interactions.
There are broadly 3 important kinds of feedback:
- Explicit feedback: these are purposeful actions to review the generations. For example, ‘thumbs up/down’ button presses.
- Implicit feedback: indirect actions taken by your users may signal whether the generation was good or bad, for example, whether the user ‘copied’ the generation, ‘saved it’ or ‘dismissed it’ (which is negative feedback).
- Free-form feedback: Corrections and explanations provided by the end-user on the generation.
You should create Human Evaluators structured to capture the feedback you need. For example, a Human Evaluator with return type “text” can be used to capture free-form feedback, while a Human Evaluator with return type “multi_select” can be used to capture user actions that provide implicit feedback.
If you have not done so, you can follow our guide to create a Human Evaluator to set up the appropriate feedback schema.
Use the logs to improve your AI product
After you collect enough data, you can leverage the user feedback to improve your AI product.
Navigate back to the Logs view and filter all Logs that have a ‘bad’ rating to review the model’s responses that need improvement.
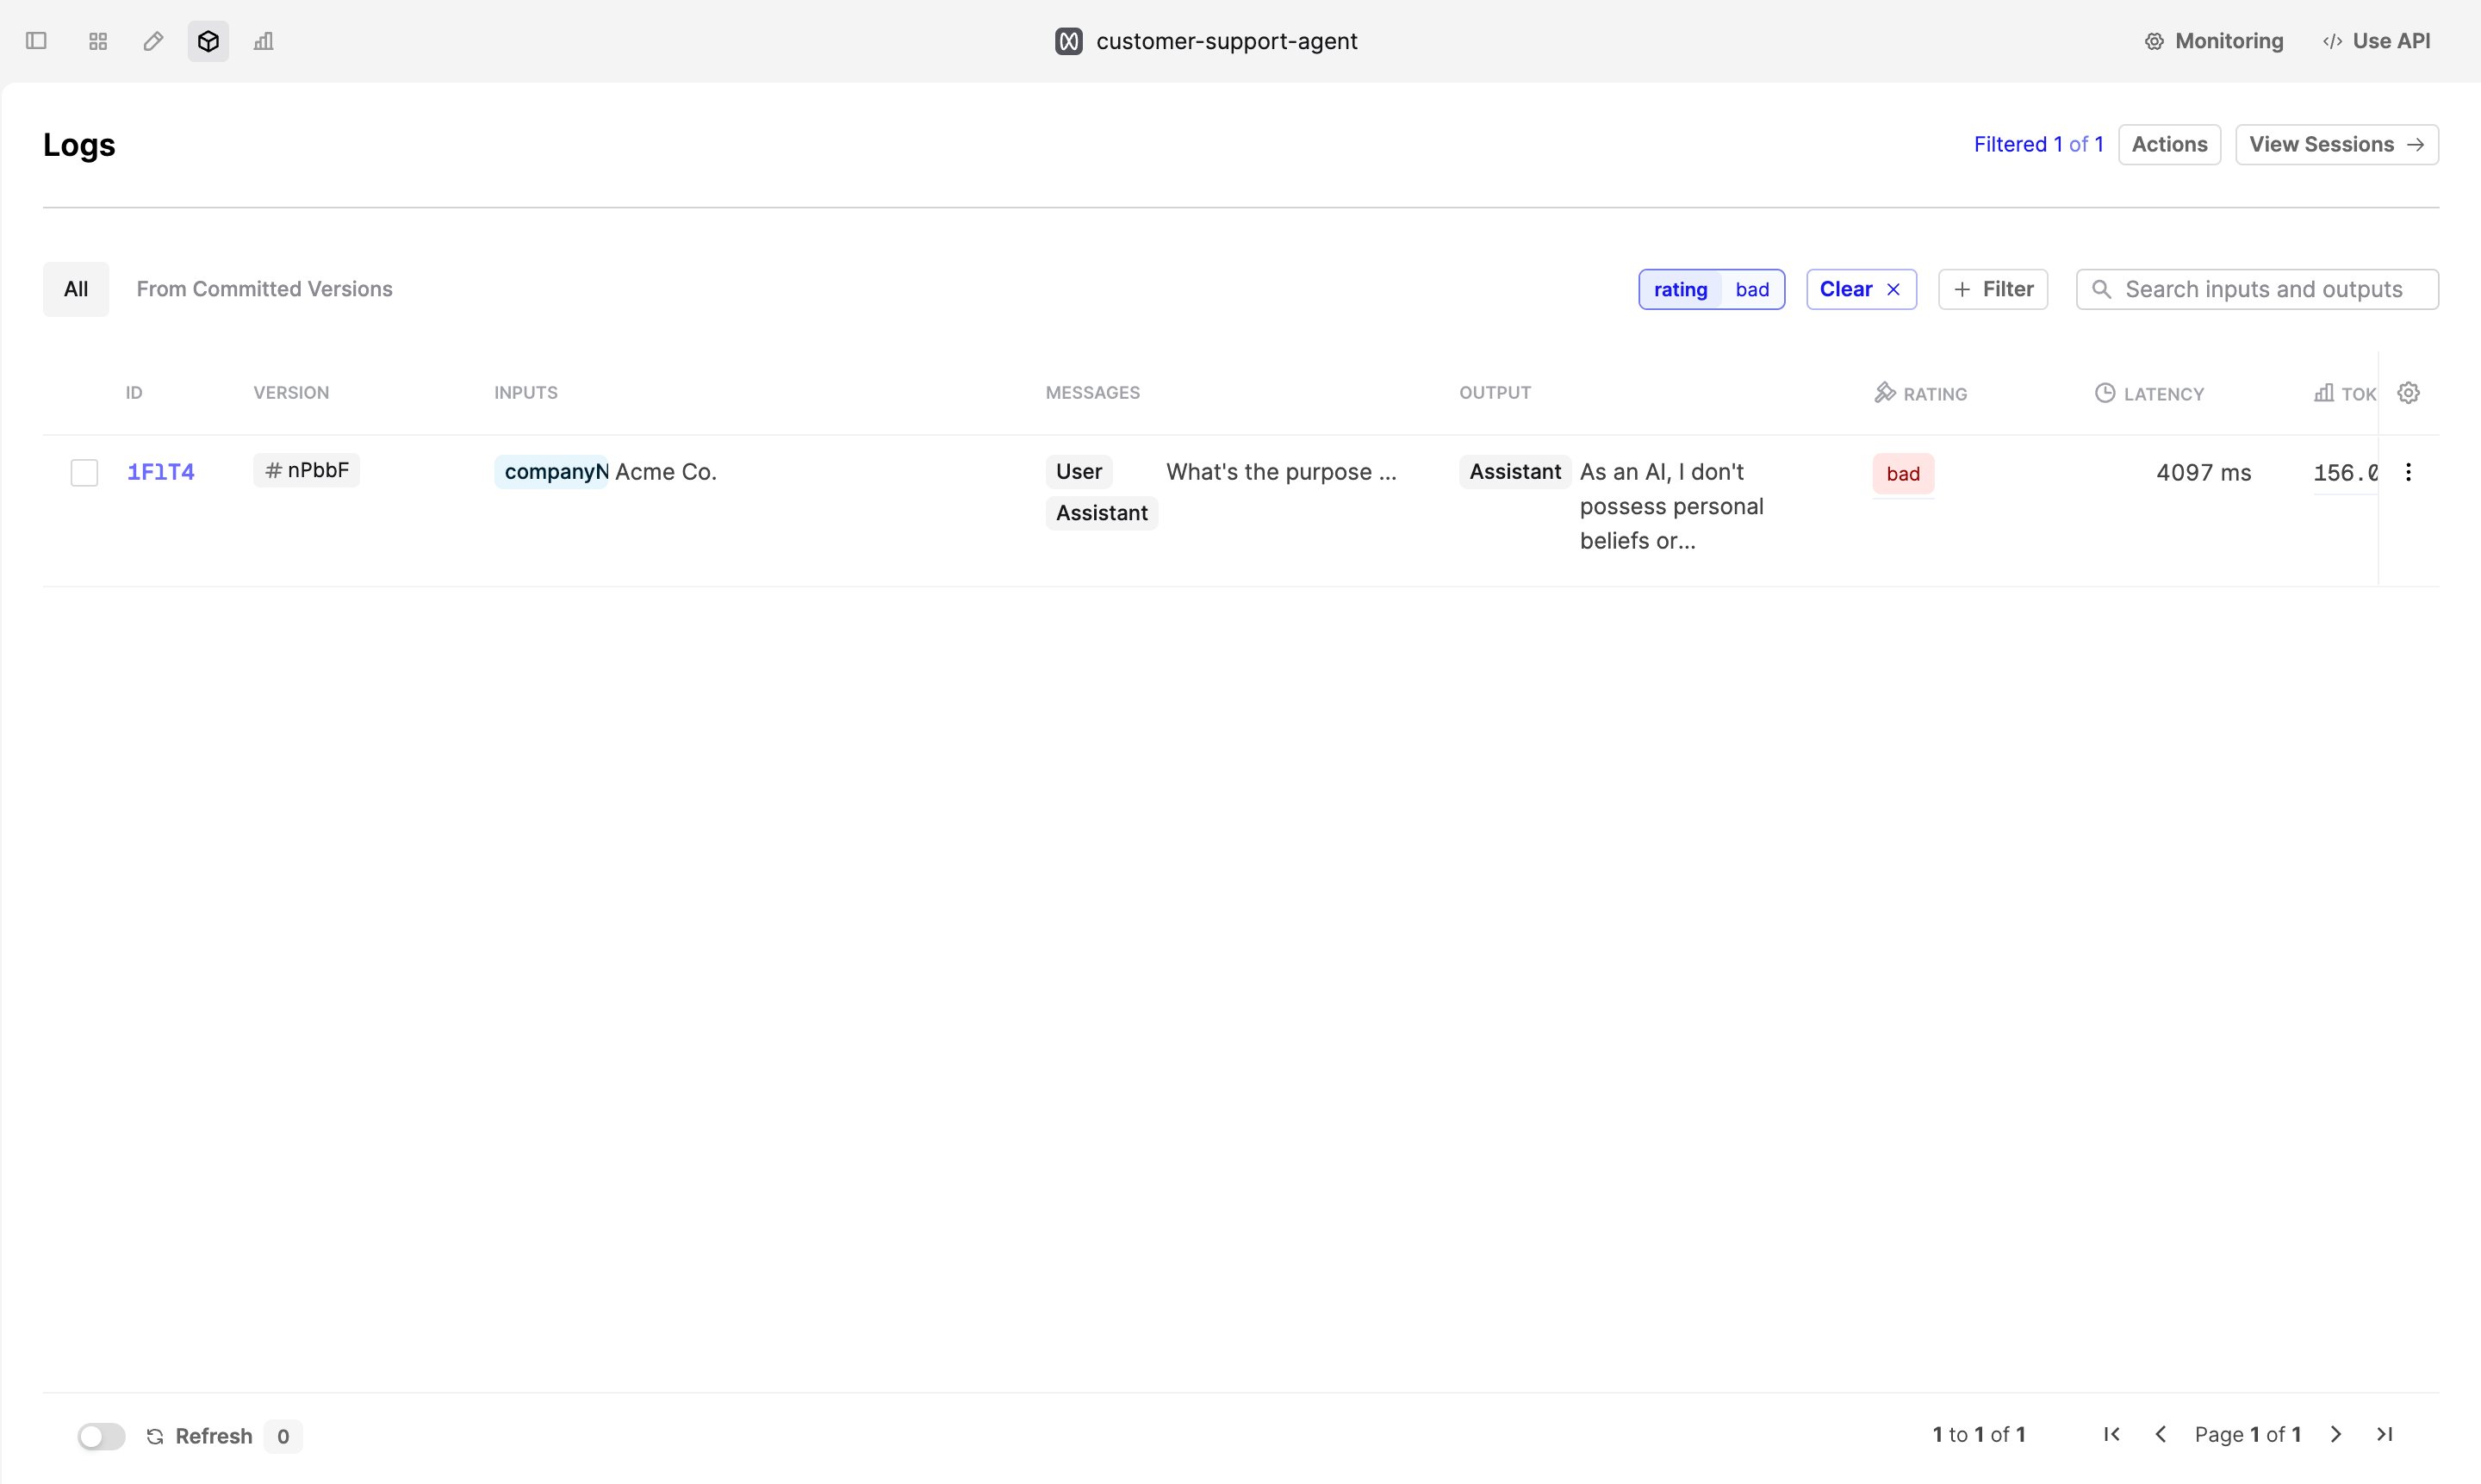
Click on Log and then on Editor -> button in the top right corner to open the Prompt Editor. In the Prompt Editor, you can make changes to the instructions and the model’s parameters to improve the model’s performance.
Once you’re happy with the changes, deploy the new version of the Prompt.
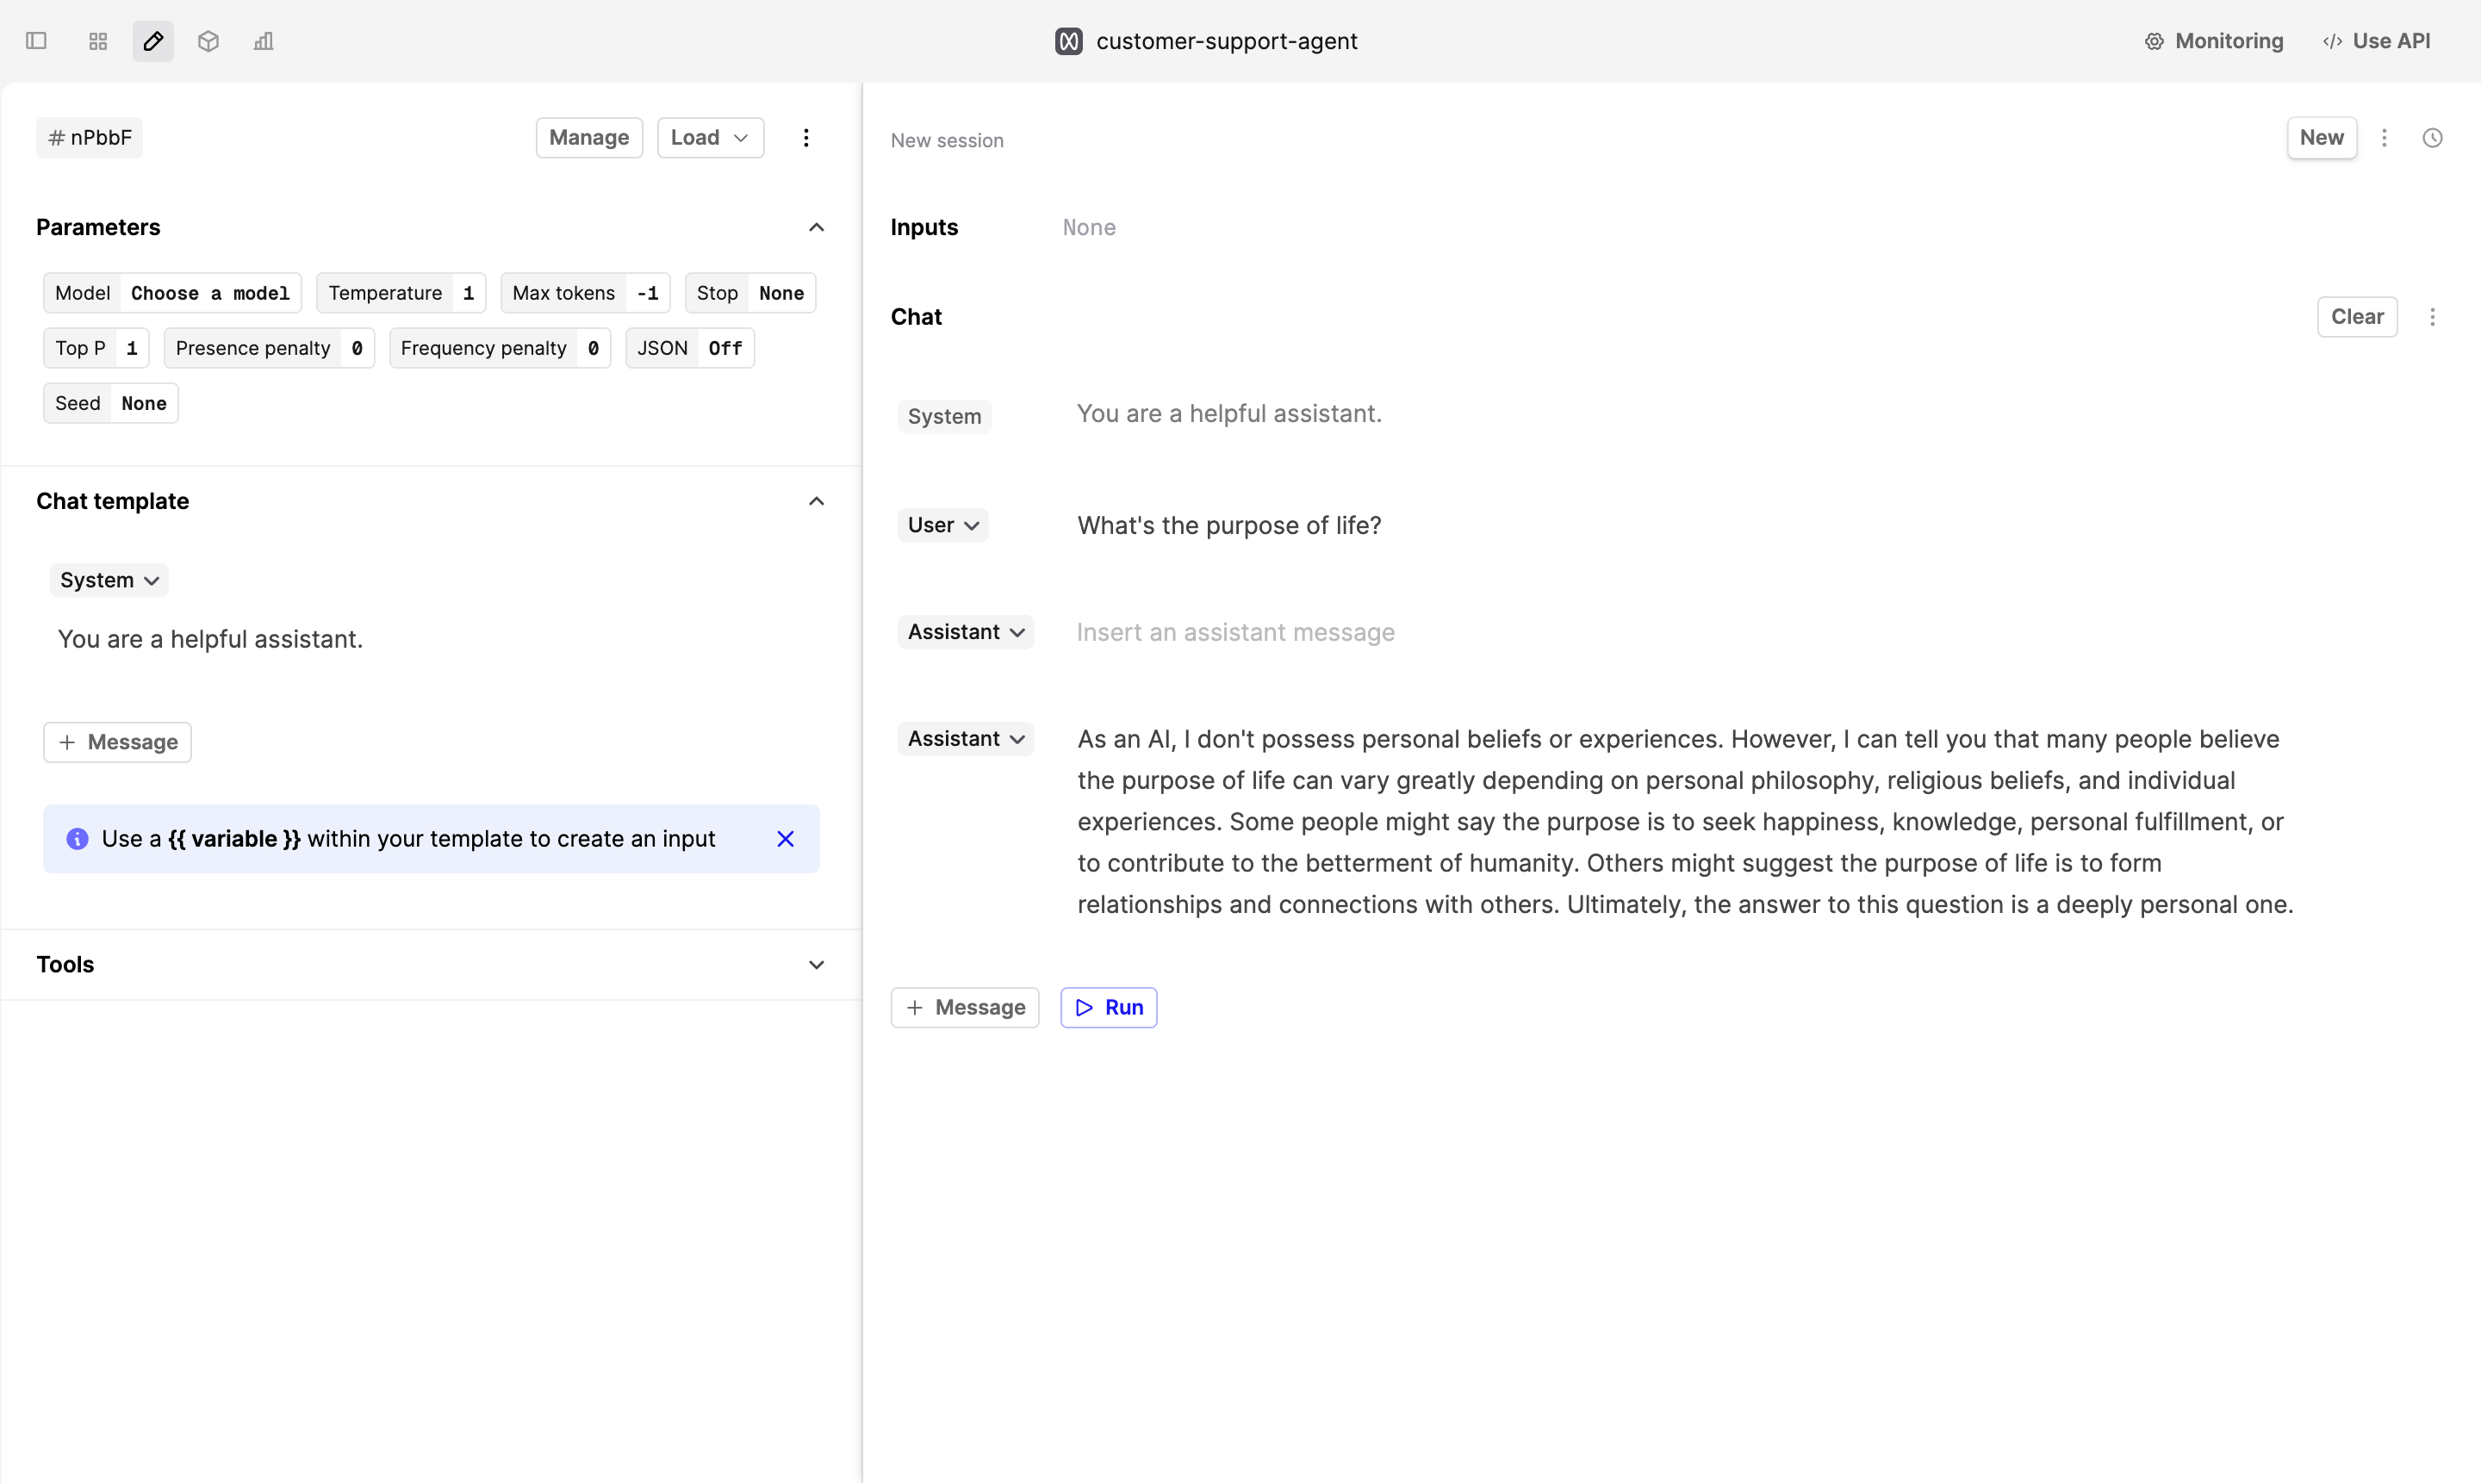
When users start interacting with the new version, compare the “good” to “bad” ratio to see if the changes have improved your users’ experience.
Next steps
Now that you’ve successfully captured user feedback, you can explore more ways to improve your AI product:
- If you found that your Prompt doesn’t perform well, see our guide on Comparing and Debugging Prompts.
- Leverage Code, AI and Human Evaluators to continuously monitor and improve your AI product.
