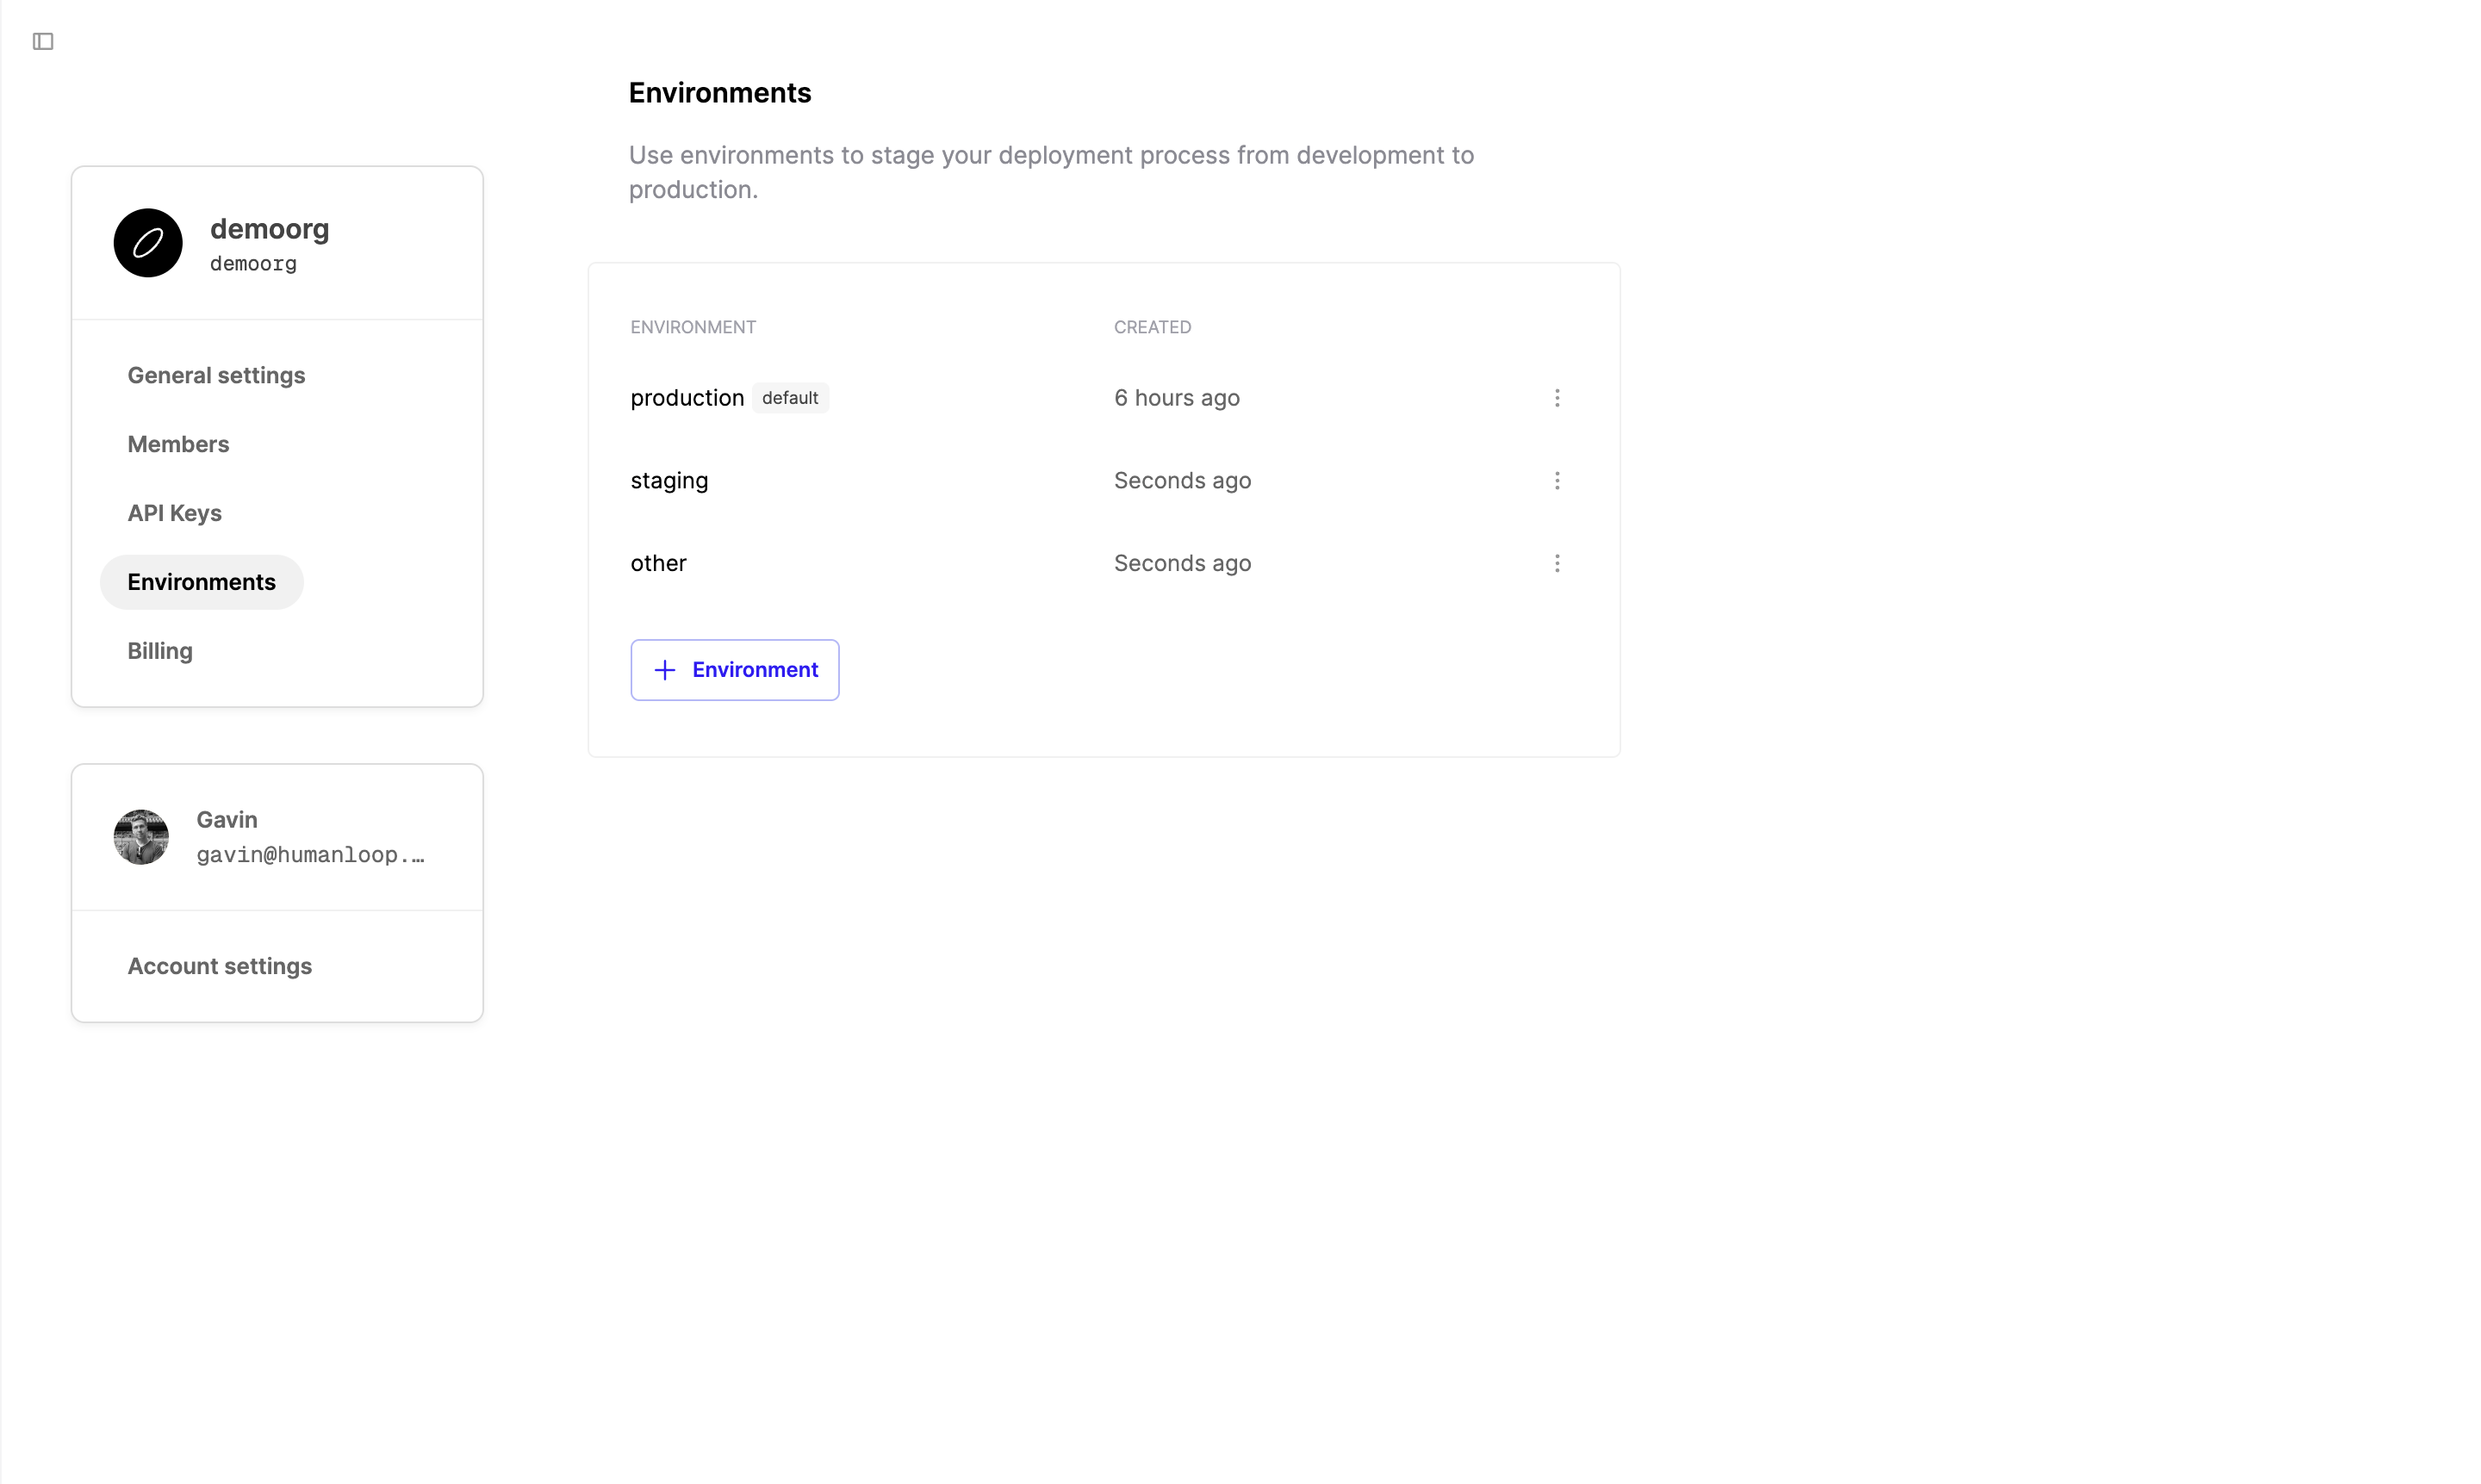
Manage Environments
Environments are a tagging system for deploying Prompts. They enable you to deploy maintain a streamlined deployment workflow and keep track of different versions of Prompts.
The default environment is your production environment. Everytime you fetch a Prompt, Tool, Dataset etc. without specifying an alternative environment or specific version, the version that is tagged with the default environment is returned.
Create an environment
Go to your Environments tab in your Organization’s settings.

Rename an environment
You can rename an environment to re-arrange your development workflows. Since each new file is automatically deployed to the default environment, which is production unless altered, it may make more sense to create a separate production environment and rename your current environments.
This may break production systems
Renaming the environments will take immediate effect, so ensure that this change is planned and does not disrupt your production workflows.